Friday, March 13, 2015

Discovering Titus Pens


I've been dreading for the past couple of weeks to buy some new pens; and I only want one specific brand - TITUS.

My friend introduced me to Titus when she gave me pens in green and brown. Since then I've been using those on my CBTL planner. And because I'm starting to love them (they right so well AND they're budget friendly!) I want MORE colors!!!

However, there were only a few of them in NBS Market! Market! when I first bought my Titus pens and got only the red, blue and purple colors. So, I have to constantly check if they have new ones whenever I had a chance to go to the mall.

And so after a month, I finally got yellow, pink and orange pens!

Oh the joy!!! ^_^

I wish they have MOOOORE colors! Lol!


Wednesday, January 14, 2015

A Merry Postcard

01.14.15 | Metro Manila, Philippines | Photo by Aine Garcia

It's been ages since I got a mail like this. I'm glad I got this Christmas Card from one of my online friends. Thank you! *smile

Thursday, January 1, 2015

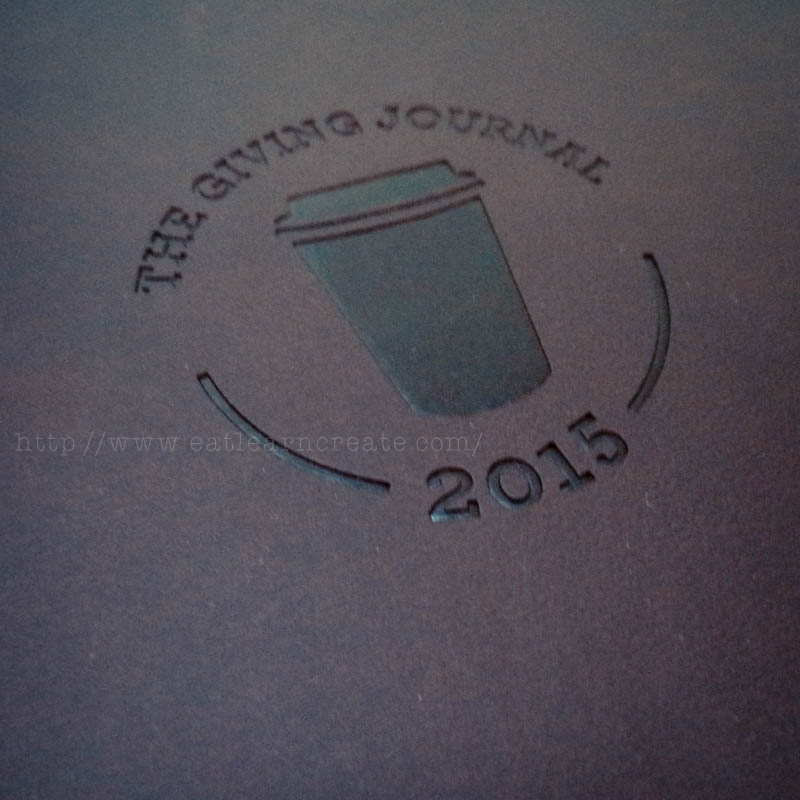
New Year with CBTL's The Giving Journal


It's the 1st day of the year and I'm going to start it with my 2015 The Giving Journal from Coffee Bean and Tea Leaf. I got this from a blog giveaway I've won last month. Just in time, because 2015 will be a promising year for me and my family. And there will be some big changes that will happen for the better, of course! So this journal will be my buddy for this year!

Happy New Year!!! 

Friday, November 7, 2014

Rosette - The Rolled Fabric Rose

Just when I decided to earn from fabric flowers, I was already "perfecting" my techniques on how to make them. Well, aside from the very few fabric flowers that I made for personal use, here's what I did for the very first collection of Nia&Bella


I call them Rosette. 

These rosettes are made of t-shirt cotton fabric. And no, I didn't use my own t-shirt, instead, I used a sampler of fabric that I bought. And of course, I used a hot glue to secure the rolled fabric. 

3 different sizes of  Rosette


For this collection, I made 3 sizes of 1, 1¼, and 1½" in diameter. I only had 4 colors, though - yellow, fuchsia pink, white, and a very dark blue (not in picture). 

I actually enjoyed doing this, because what I like about rosettes is you don't need too much tracing and cutting. All I have to do is just measure, cut, fold & roll, and glue. But of course, I have to make sure that the fabric flowers are rolled and secured tightly. And also it has to be neat, which means no hot glue showing on the surface. 

the first tries.. not bad huh?!


My fabric rosettes are currently out-of-stock, but I'm planning to have a new batch of them soon together with new variants of fabric rosettes that are SO perfect for your crafty projects.

packed fabric Rosette


Watch out for those and for my other new collection.


Nia&Bella


Tuesday, October 7, 2014

Nia&Bella: How it all started. :)

Growing up, I've always wanted to have my own business. I never really see myself as a career woman signing tons of paper works and attending endless meetings. I guess it has something to do with my maternal genes; I grew up knowing my mom's siblings own and run their respective businesses. I was also 'trained' by my mom on how to handle money and do business; it didn't matter whether I'm selling stationeries at school, candies and junk foods at our gate during grade school summer breaks or selling Victoria's Secret Garden Collection as early as Grade 5, as long as I earned, I gained profit, and loved what I'm doing, I'm good with it.

But it has always been my dream on having a business where I'll get to use my creativity (this goes to my dad's genes! *wink*). I remember, I was having a vivid imagination seeing myself smiling, having my own store, creating souvenir items, jewelries, kids accessories.. anything handmade. I just love being creative and creating! There is this extreme satisfaction and inexplicable happiness whenever I get to finish a piece, not to mention the appreciation of my work that I get from other people. That is a bonus!

Slowly by slowly, I get to fulfill that dream. I wasn't really aiming of becoming big though, but I can say that I earned enough that I managed to be unemployed for 5 years.

So, aside from having my own my loading business and helping my mom with her food business, I started making fashion accessories, specifically earrings. What I did was I bought my beads and other beading materials at Quiapo and do the 'assembling' to create a pair. It was hard at first, especially the closing of eye pins and head pins, but along the way I get to discover my own technique to make it easier.


After a year or two, I leveled-up to Swarovski accessories; you know those shiny crystal beads with gold wires where they would say it's 10k daw! Creating them was more challenging; I have to be careful in handling the beads and the twisting of wires, there was no room for me to make any mistake because the materials are more expensive.


But I really did earn some good amount of money through these Swarovski accessories. However, for some (very personal and unfortunate) reason, I stopped. That was when I decided to work, which made my time so limited to create a new set of accessories.


Fast forward - I resigned, I took a long vacation, and got married and became a mom. I tried making accessories again, but it didn't last that long because my priority is taking care of my daughter. I also have to consider that having beads and wires around the house was not safe for my then toddler. But now that she's bigger, I decided to give my first love a try again. Although this time, it's not with accessories anymore.


And so, my 1st collection of FABRIC FLOWERS were born and so does Nia&Bella, a gallery of my handmade accessories and fabric flowers, and soon to my other handmade creations and craft supplies. Someday, I'm going to open the shop so all the crafty ladies out there can directly buy some crafty stuffs straight from me. But for now, since it is impossible for me to handle the production and management at the same time, my fabric flowers are exclusively available at Scrap Stash, my friend's online shop that sells scrapbook supplies - do check her out! *wink*

And did I mention that I have a long list of plans for Nia&Bella?! Hopefully, it would materialize, if not all maybe some of it, by next year. Now the list includes:

• Hair Accessories - hair bows, headbands, and the likes.
• Kids Accessories - chunky beads necklace and bracelet.
• Polymer Clay - souvenir items made out of clay.
• Kraft Projects - a showcase of arts & crafts supply made from Kraft Paper.
• Fabric Projects - fabric bunting, banners, garland, flag banner, and accessories made from fabric.
• Wedding Essentials - fabric flower bouquet, boutonniere, and corsage.
• Maternity Sash - a maternity belt with fabric flowers used in maternity shots or to accentuate a dress.
• Other craft stuffs - washi, pens, etc.
• Crafty Gift Sets - could be a sewing kit inside a mason jar, that would be cute! ♥

and, so much more!!! 

However, I could only do less; talk about being a hands-on mom with no yaya or helper around the house, which means I am an all-around mom - insert wide grin here! But I know in God's time, I would be able to fulfill all of these. 

Right now, I'm happy that I can create and earn at the same time. Thanks to my dear friend, Tracy, who is my crafty business partner, for all those endless planning, patience, and for making it possible.

Now, we're on our way to our first year and positively looking forward for more years of fulfilling our dreams!


Nia&Bella
Facebook | Instagram


Monday, August 11, 2014

Font Must-Have: 12 Cursive Handwritten Fonts


I am so in love with these wonderful fonts created for us to use. And I got to admit, I have a lot in my collection already, that there are so many of them sometimes I don't know what to use anymore. LOL!

Anyway, I know some of you share the same passion with me when it comes to fonts and I think it's about time to showcase my favorites among those that I have in my collection.

For now, enjoy my favorite cursive handwritten fonts!


DOWNLOAD BELOW


Just a reminder, some of the fonts are 100% free and some are for personal and non-profit use only. Always make it a habit to check the terms and conditions of each font and be mindful of how you use them.

Enjoy!

Wednesday, August 6, 2014

My DIY 2014 Planner Cover

Filofax.

Sounds familiar right?! I never thought that planners can be so expensive that it almost cost as much as cellphone! 

This is the cutest trend that I've seen lately; a planner with color-filled pages and with eye-popping decorative layouts, that will make your heart melt with cuteness! Especially those washi!!!

I'm a lover of planners, or organizers as to how we used to call it back then, since high school (15-17 years ago. However, never did I use, or perhaps didn't know how to use the daily, weekly, and monthly sections in it. Instead, most of the stuff written on it were songs, poems, short stories, my artworks, messages or "dedications" from my classmates and friends. 

It was only in college where I got to explore each section of the planner. I even started using post-its, colorful gel pens, and highlighters. 

It's just nice to know that until now there are others who are still in this type of hobby or practice. I even enjoyed checking out different designs of planners on Pinterest

And did I already mentioned washi? Imagine how cute they'd get with washi tapes! 

So, Filofax?! 

Would I want one? Yes, of course! 

Would I get one? No, because I can still have a planner that doesn't cost as much. Besides, I still have my trusty old college planner. 

Am I planning to get one in the future? Yes, the Filofax Original Patent Nude.

It's a wish list. But for now, I'm planning to print my own planner refills. It's going to be personalized that suits my own needs. I need to incorporate the layout to planning my business, blogging, home-making, and mommyhood all in one. So that's going to be a tough job that I'll be working on for my 2015 planner.

Right now, here's what I did for my planner - 2014 Planner Cover. 

I made the design using Photoshop and printed it on a matte photo paper.


Cut it, and punched the holes on the side.


And, here it is!


I know it's just a cover, but I was like, "I never knew that my planner would look like this ever!"

Now I'm excited for my 2015 planner!